Designing a 3D Exhibition Stall Using AI — A Complete Workflow Breakdown
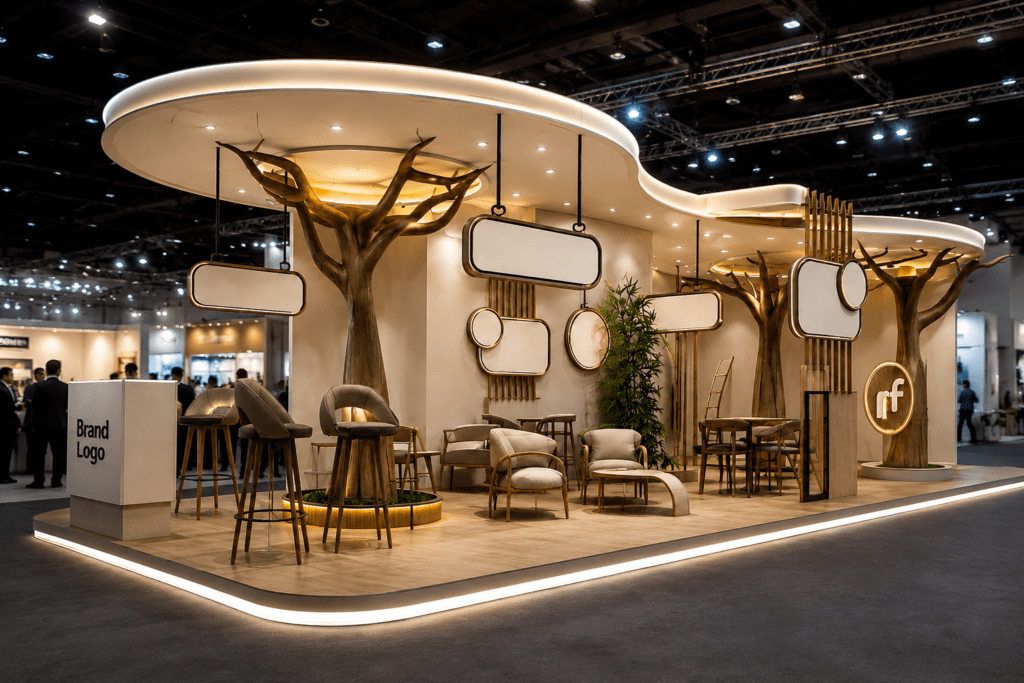
Exhibition stalls are one of the highest-stakes visual investments a brand makes — expensive to fabricate, difficult to modify on-site, and visible to thousands of attendees within a single event window. A miscalculated layout or an inaccurate brand placement can only be caught after the budget is already spent.
This is exactly why AI-assisted 3D visualisation has become essential in exhibition stall design. As a 3D Artist and Motion Graphics Designer specialising in AI-driven production pipelines, I use a structured five-phase workflow to take a stall from raw concept to a photorealistic, client-ready render — before a single panel is fabricated.
Here is that workflow, broken down phase by phase.
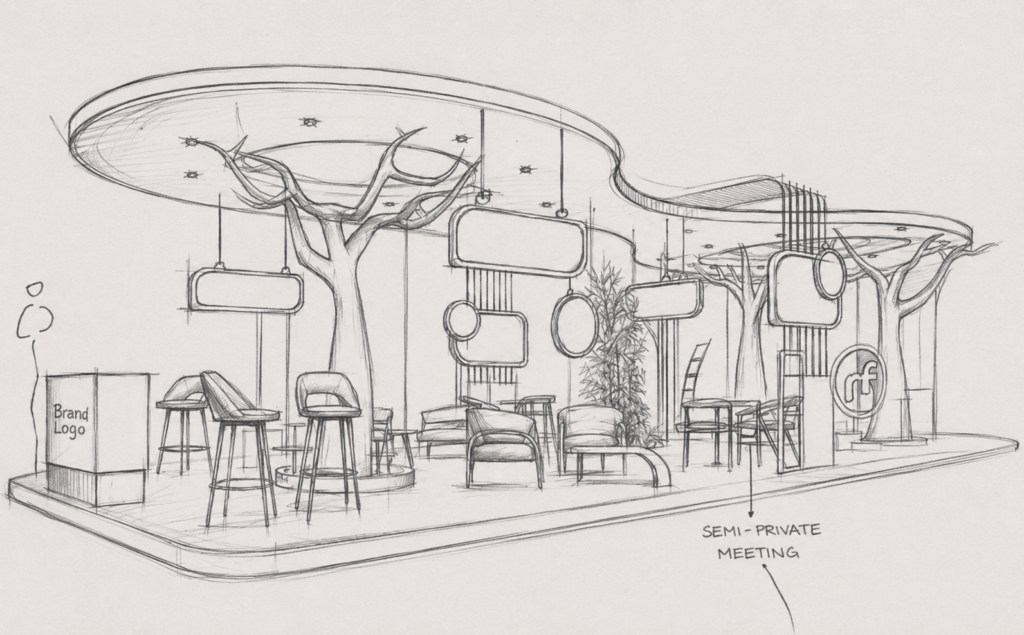
Phase 1: Sketch — Concept and Layout Planning
Every stall design begins with intent, not geometry. Before any 3D software is opened, the layout is planned around visitor flow, brand placement, product display zones, and structural constraints defined by the venue.
This phase locks the foundation: stall dimensions, entry points, counter positioning, and how the brand identity will dominate the space visually. Getting this stage wrong means every later phase inherits the mistake.
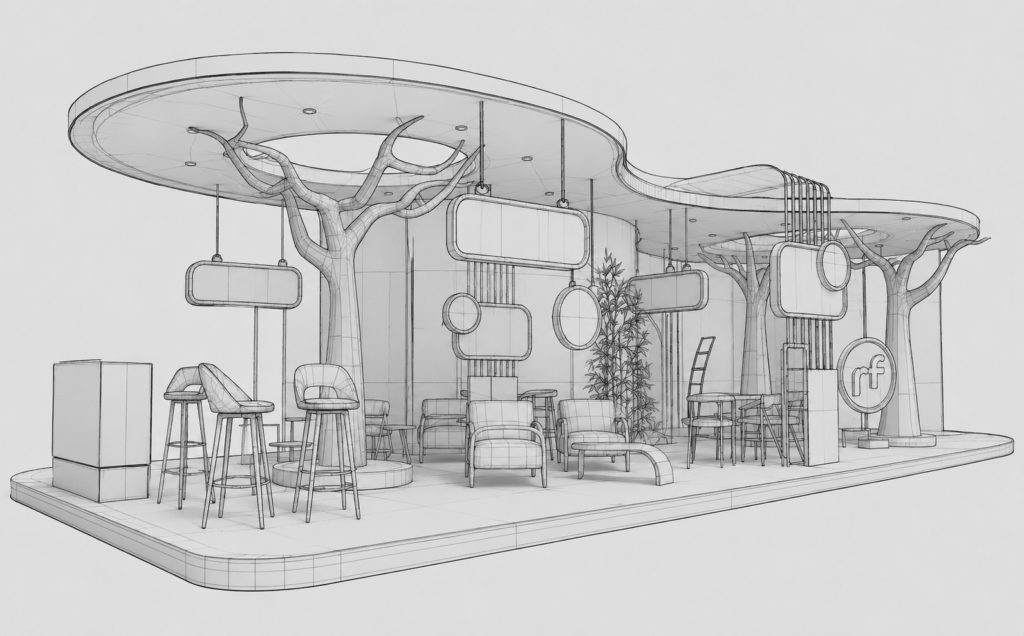
Phase 2: Wireframe Shading — Structural Blocking
Once the concept is approved, the base geometry is built. Wireframe shading defines walls, counters, platforms, and pillars as clean structural outlines — no materials, no colour, just precise architectural blocking.
This is where scale accuracy matters most. Every dimension here is checked against real-world fabrication constraints, since this wireframe becomes the skeleton for the entire stall.
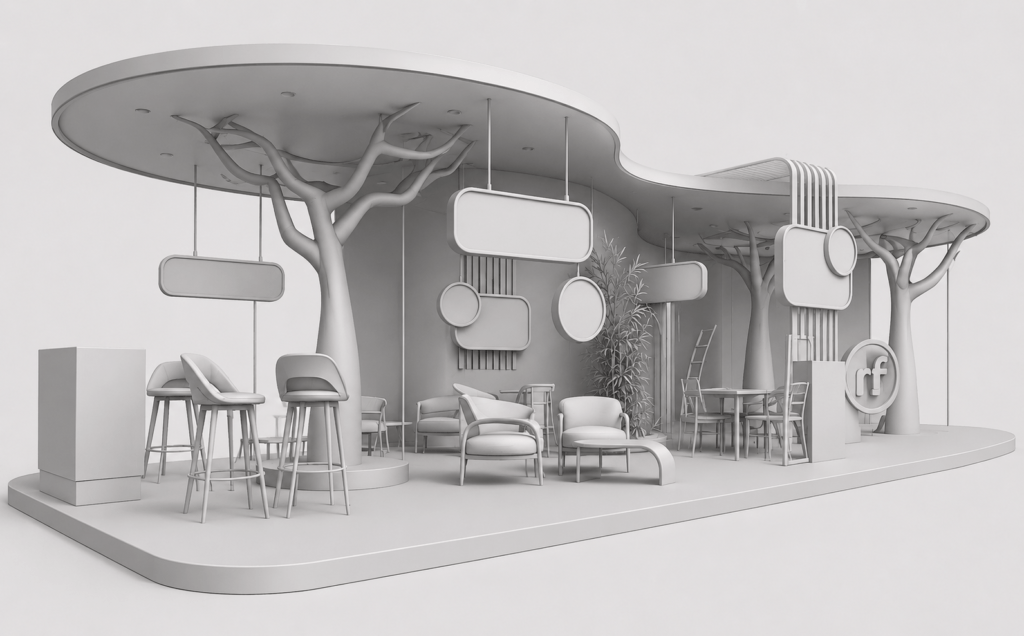
Phase 3: Solid Shading — Form Validation
The wireframe converts into solid geometry, giving the first real sense of the stall as a physical object. Solid shading strips away distraction and lets structural proportions, sightlines, and spatial balance be evaluated before any texture work begins.
This phase acts as a checkpoint — if the form doesn’t work in solid shading, no amount of material or lighting will fix it later.
Phase 4: Material Preview — Branding and Texture Application
This is where the stall becomes recognisably the brand. Glossy surfaces, product shelves, signage, and colour palettes are applied using PBR-based materials. Logo placement, tagline typography, and brand colour accuracy are locked in at this stage — with zero tolerance for distorted text or incorrect brand assets.
AI-assisted texturing tools speed up iteration here significantly, allowing multiple material variations to be tested against the same structure within minutes instead of hours.
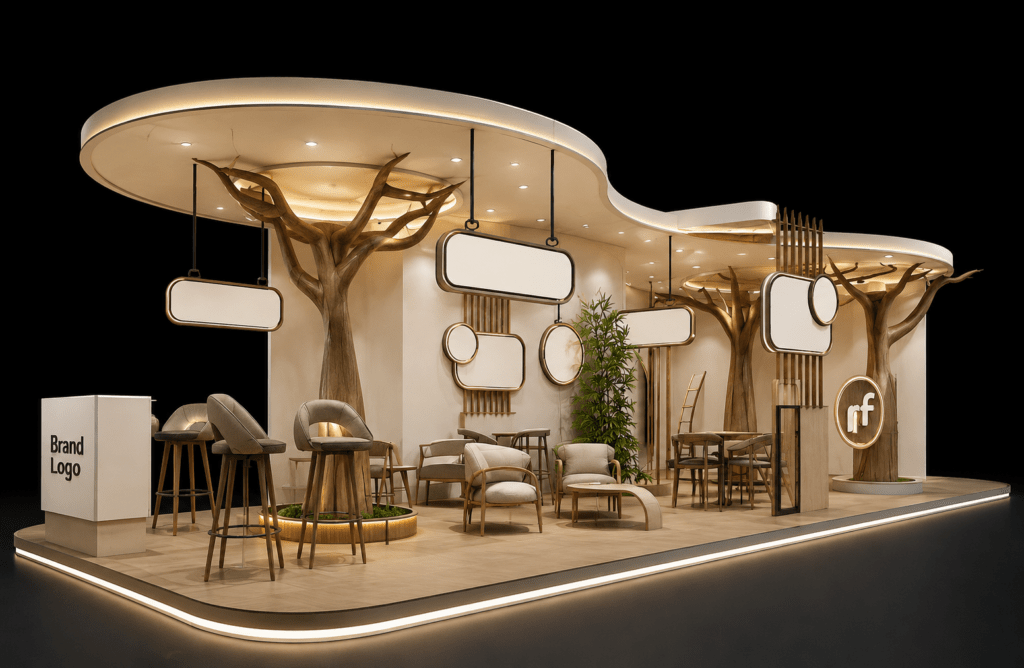
Phase 5: Rendering — Cinematic, Photorealistic Output
The final phase brings the stall to life. Cinematic lighting — ceiling spotlights, ambient fills, and realistic shadow behaviour — is layered in using global illumination. A slow camera push-in delivers the hero shot: the exact image a client will use to approve fabrication.
This render is the deliverable that replaces guesswork with certainty — the client sees precisely what will be built, before it’s built.
Tools Used in This Workflow
– 3D Modelling & Shading: Blender (Wireframe / Solid / Material Preview / Cycles Render)
– AI-Assisted Texturing & Iteration: AI-driven material and render tools
– Post-Production: Colour grading and compositing for final presentation output
Work With an AI-Driven 3D Visualisation Specialist
Whether you’re a brand, agency, or exhibition organiser looking for a fully realised 3D stall visualisation before fabrication — I design that experience from concept sketch to photorealistic hero render.
Based in Delhi, India. Open to projects in Dubai, UAE and beyond.
View portfolio: folioforge.In Contact: sumitdhiman763@gmail.com
#3DDesign #ExhibitionStallDesign #AIin3D #BlenderWorkflow #ExhibitionDesign #3DRendering #FolioForge #AIDesignTools #BoothDesign #ArchViz #MotionGraphics