Designing a Building That Has to Look Right in Every Condition — Not Just One
A rendering client shows you once is not the building they’ll live in. That building gets seen at 8 AM in flat daylight, at 7 PM in golden hour, at midnight under a cloudy sky, and — inevitably — in the rain. If a design only looks good in one lighting condition, that’s a design flaw the client won’t discover until move-in.
This is the problem multi-condition visualisation solves: validating a single architectural concept across every real-world lighting and weather scenario it will actually face, before a single panel is fabricated or a foundation is poured.
As a 3D Artist and Motion Graphics Designer working across AI-assisted and traditional CG pipelines, I use a structured sketch-to-render workflow to pressure-test a design this way. Here’s that workflow, broken down phase by phase.
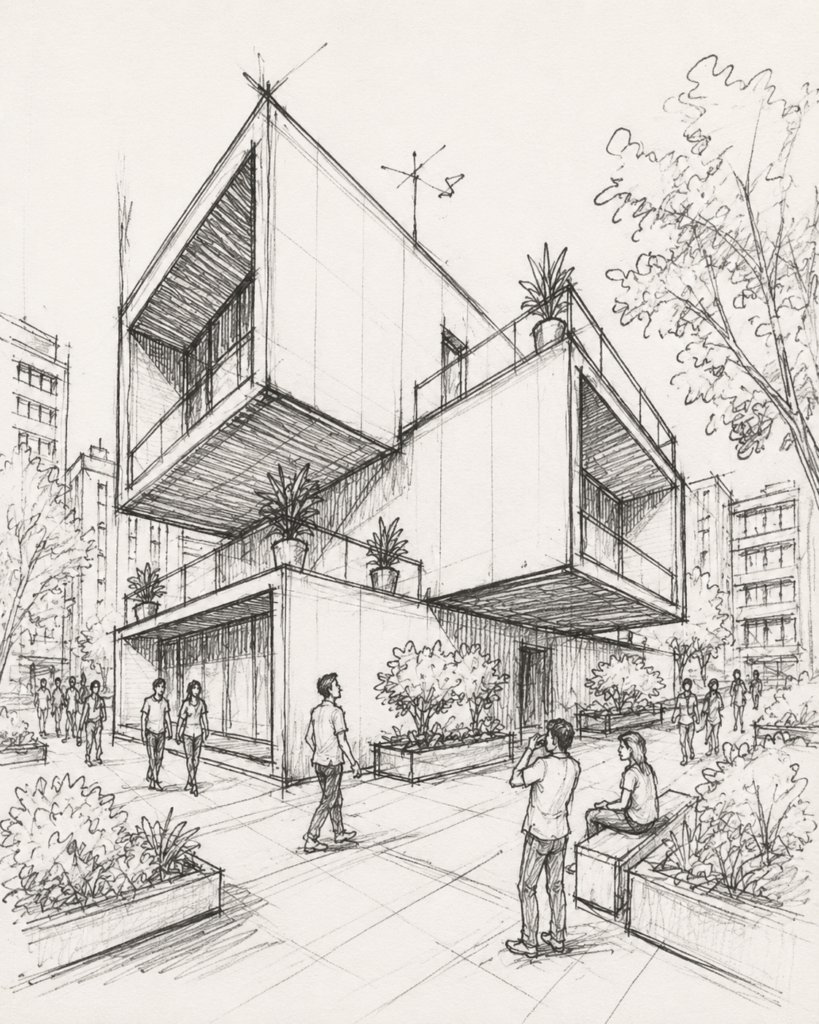
Phase 1: Concept Sketch — Massing and Cantilever Logic
Every project starts with line work, not lighting. The first sketch pass locks the core architectural idea — in this case, a stacked cantilevered massing with alternating projected volumes, glass-railed terraces, and a warm timber soffit treatment on the underside of each overhang.
At this stage, the only questions being answered are structural and spatial: Does the cantilever read as intentional or precarious? Do the terrace projections balance visually from front to back? Is there enough negative space around the building for the courtyard to breathe?
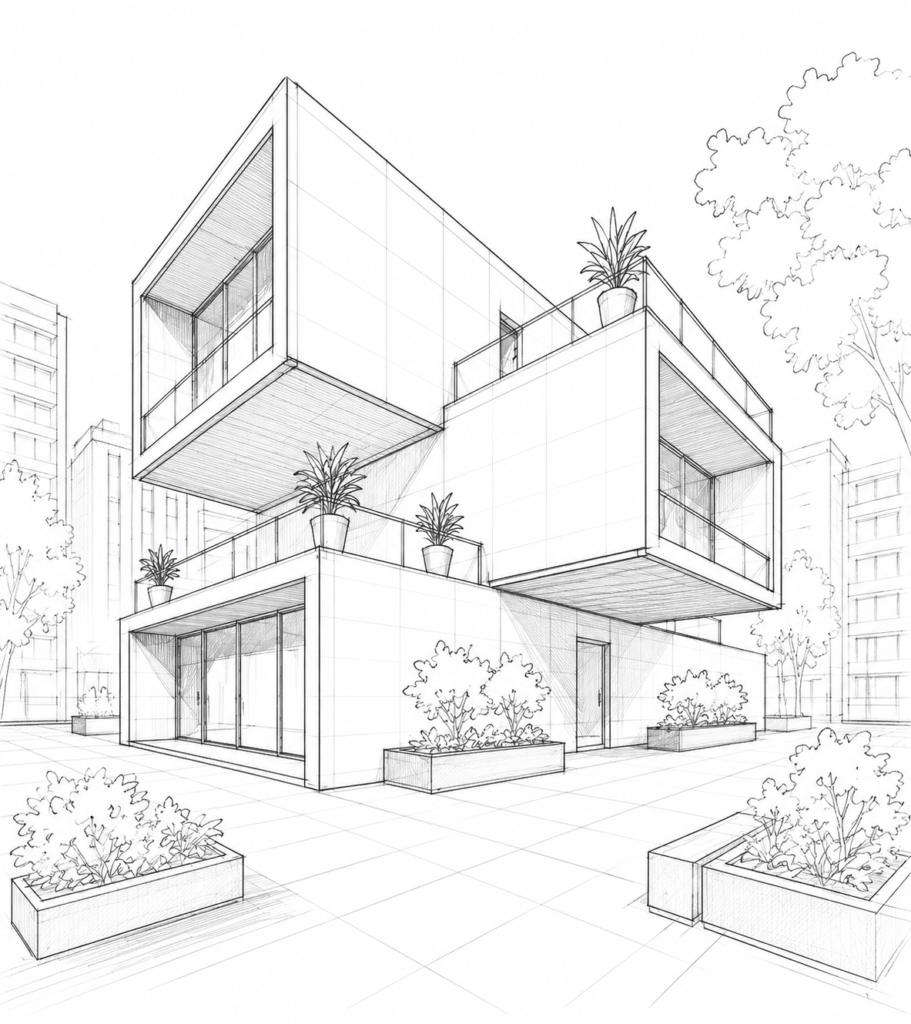
Phase 2: Refined Sketch — Locking Material Intent
The second sketch pass adds tonal shading, human figures for scale, and enough surface detail to communicate material intent — stone-clad walls, timber ceiling panels, glass balustrades, planter boxes — without yet committing to full 3D geometry.
This is the last checkpoint before AI-assisted or 3D production begins. Anything wrong with proportion, scale, or material logic gets caught here, where a correction costs an hour — not a full re-render.
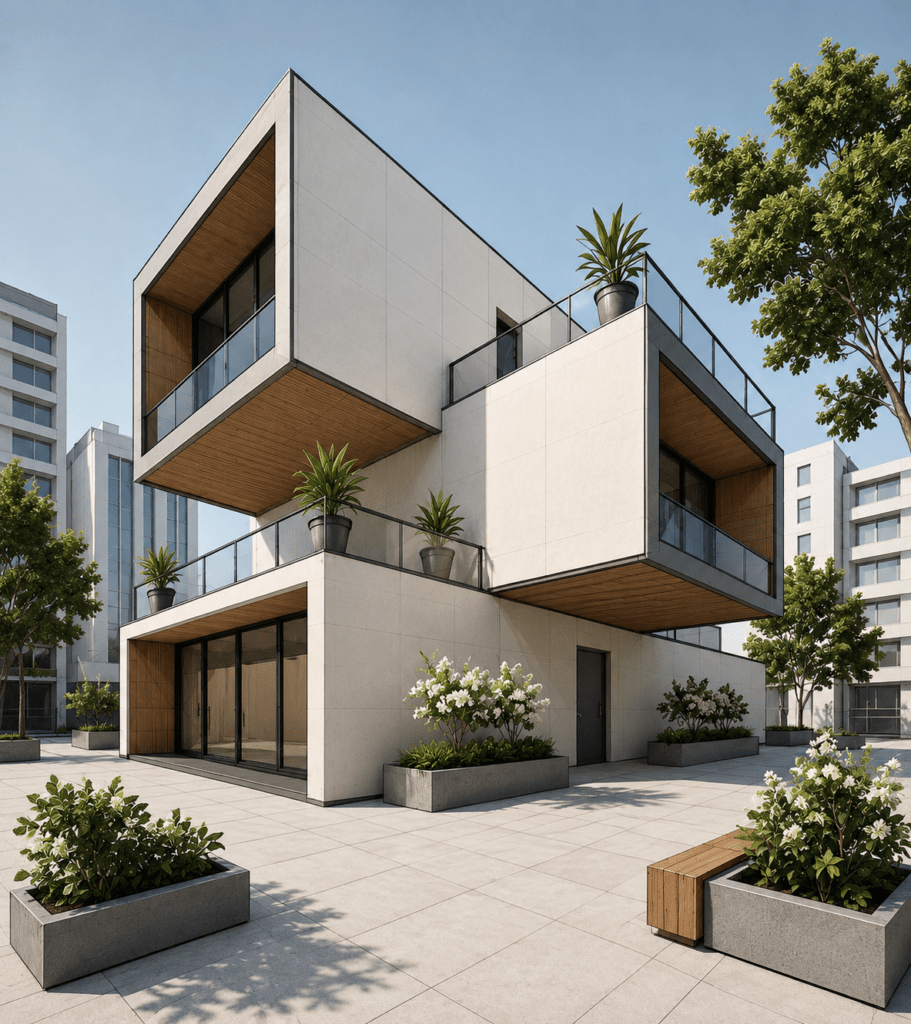
Phase 3: Daylight Pass — Neutral-Light Validation
The first full visualisation pass happens under flat, overcast-adjacent daylight with a clean blue sky. This is the most honest lighting condition there is — no golden-hour flattery, no dramatic shadow play. If the massing, proportions, and material palette hold up here, they’ll hold up anywhere.
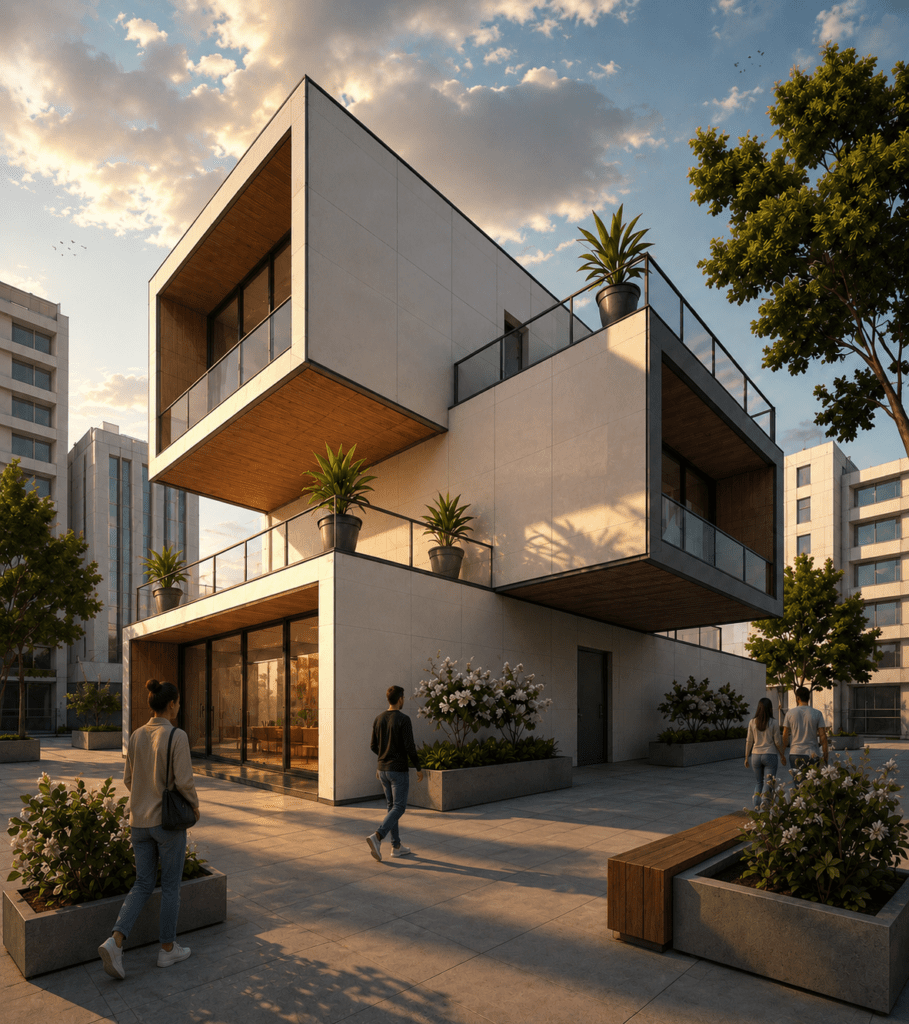
Phase 4: Golden Hour Pass — Warmth and Materiality Stress Test
The same model is re-lit for a low sun angle. Warm light rakes across the stone cladding, and the timber soffits pick up a secondary glow. This pass exists specifically to test whether the material palette was chosen for one lighting condition or genuinely holds up across a full daily cycle — a common failure point in renders that look great as a single hero shot but fall apart under scrutiny.
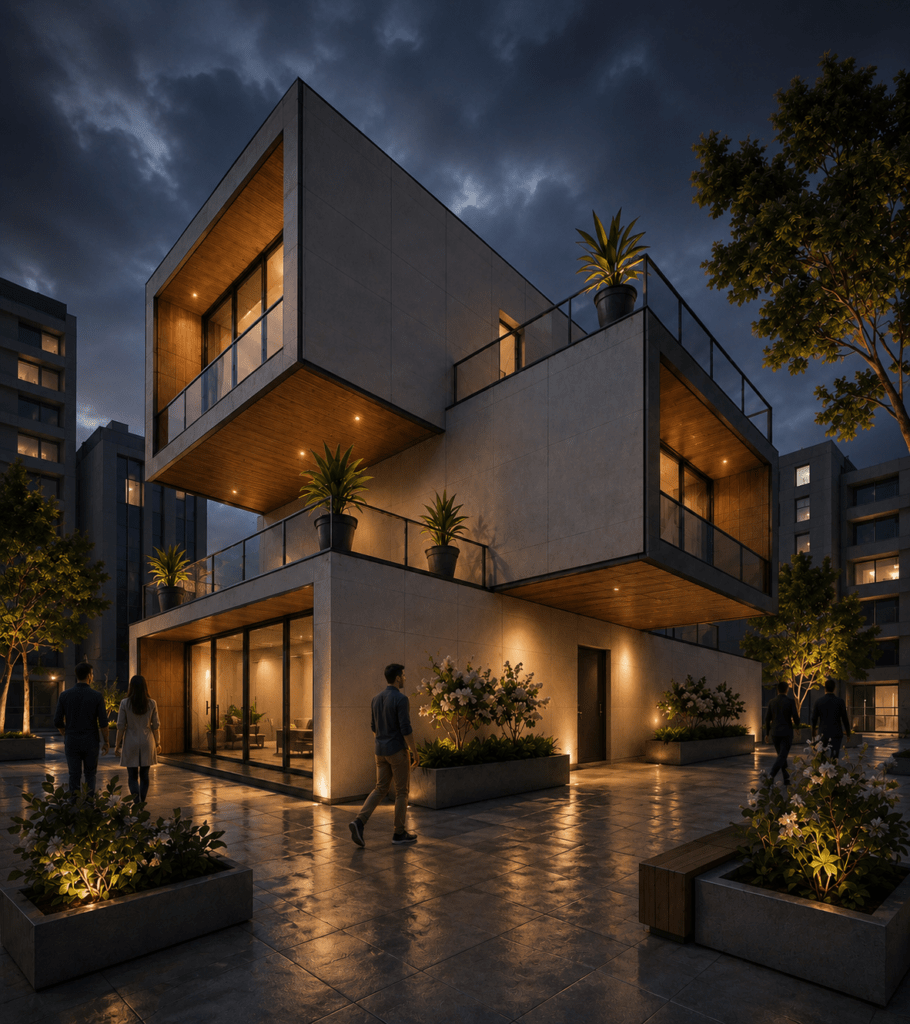
Phase 5: Night Pass — Artificial Lighting Design Under Cloud Cover
With natural light removed, the building’s own lighting design has to carry the composition. Recessed soffit lighting, uplighting on the planters, and warm interior glow spilling through the glazing all get evaluated independently of daylight — because a building’s night identity is a separate design decision from its day identity, and clients frequently discover this gap only after installation.
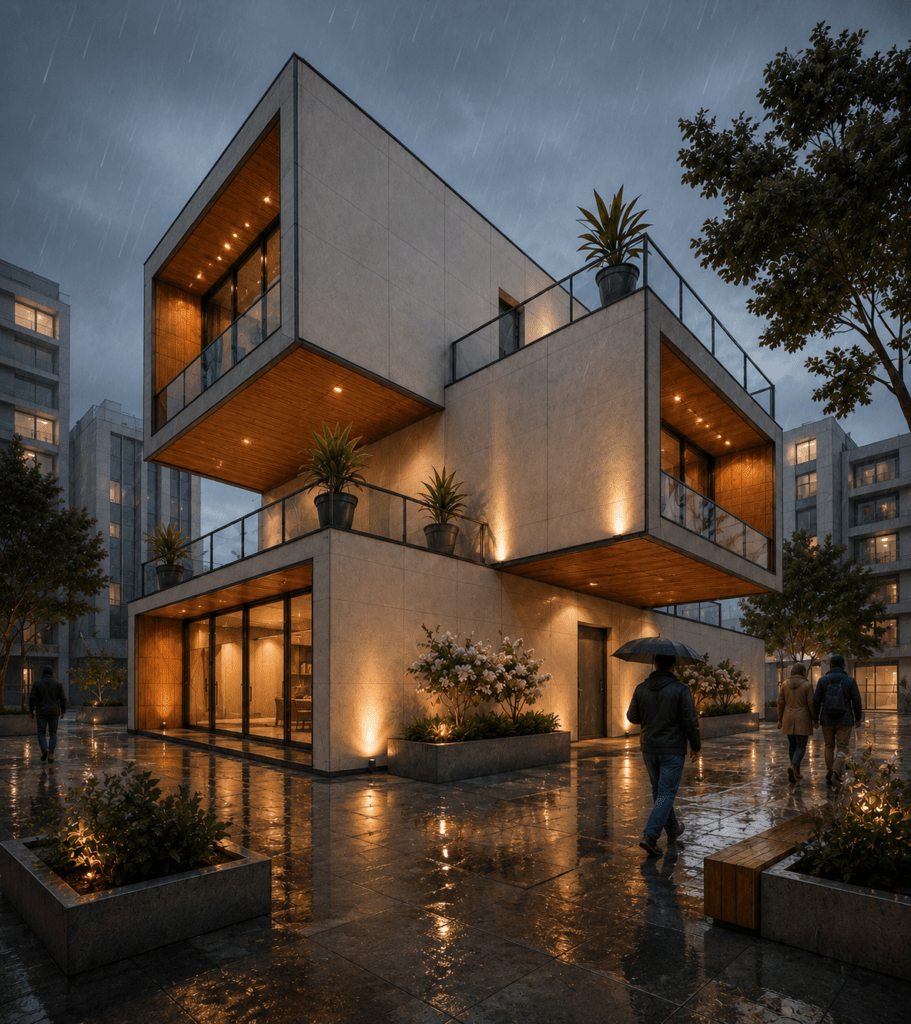
Phase 6: Storm Pass — The Worst-Case Scenario
The final pass introduces rain, wet reflective paving, and low visibility. This is deliberately the hardest condition to render believably — reflections have to behave correctly on wet stone, umbrellas and pedestrian body language have to read as “caught in the rain” rather than posed, and the lighting has to still feel warm and inviting rather than bleak.
If a design communicates warmth and quality even in a storm at night, the lighting design is doing its job.
Why Multi-Condition Visualisation Matters
- De-risks client approval — sign-off happens on how the building actually performs, not a single flattering angle
- Catches lighting design flaws early — before electrical and fixture specs are locked
- Strengthens sales and marketing assets — one project delivers four to six distinct hero shots instead of one
- Speeds up iteration — AI-assisted passes test lighting and atmosphere in minutes, reserving full 3D production time for the approved direction
Tools & Process Used
- Concept sketching: hand-drawn linework and tonal shading for early massing validation
- AI-assisted visualisation: rapid generation of day / golden hour/night/storm passes from a locked concept, used as a pre-production decision tool
- Production pipeline (for final delivery): Blender / 3ds Max modelling, Lumion for lighting studies, Photoshop for grading and compositing
FAQ
What is multi-condition architectural visualisation? It’s the practice of rendering the same building design under multiple lighting and weather conditions — typically day, golden hour, night, and rain — so a design is validated against real-world conditions rather than a single hero shot.
Why generate renders in different lighting and weather before construction? Because a building’s lighting design, material reflectivity, and shadow behaviour change completely between conditions. A facade that looks premium in daylight can look flat at night if the artificial lighting design wasn’t planned alongside it.
How does AI speed up architectural pre-visualisation? AI-assisted image generation can produce multiple lighting and atmosphere variations of a locked concept in minutes, letting designers and clients agree on direction before committing time to full 3D modelling and rendering.
Work With an AI-Driven 3D Visualisation Specialist
Whether you’re a developer, architect, or brand needing a design validated across real-world conditions before construction begins, I build that visualisation pipeline from concept sketch to final render.
Based in Delhi, India. Open to projects in Dubai, UAE and beyond.
View portfolio: folioforge.In
Contact: sumitdhiman763@gmail.com
#ArchViz #ArchitecturalVisualization #AIin3D #3DRendering #ExteriorRendering #FolioForge #GenerativeAI #ModernArchitecture #MotionGraphics #ArchitectureDesign